

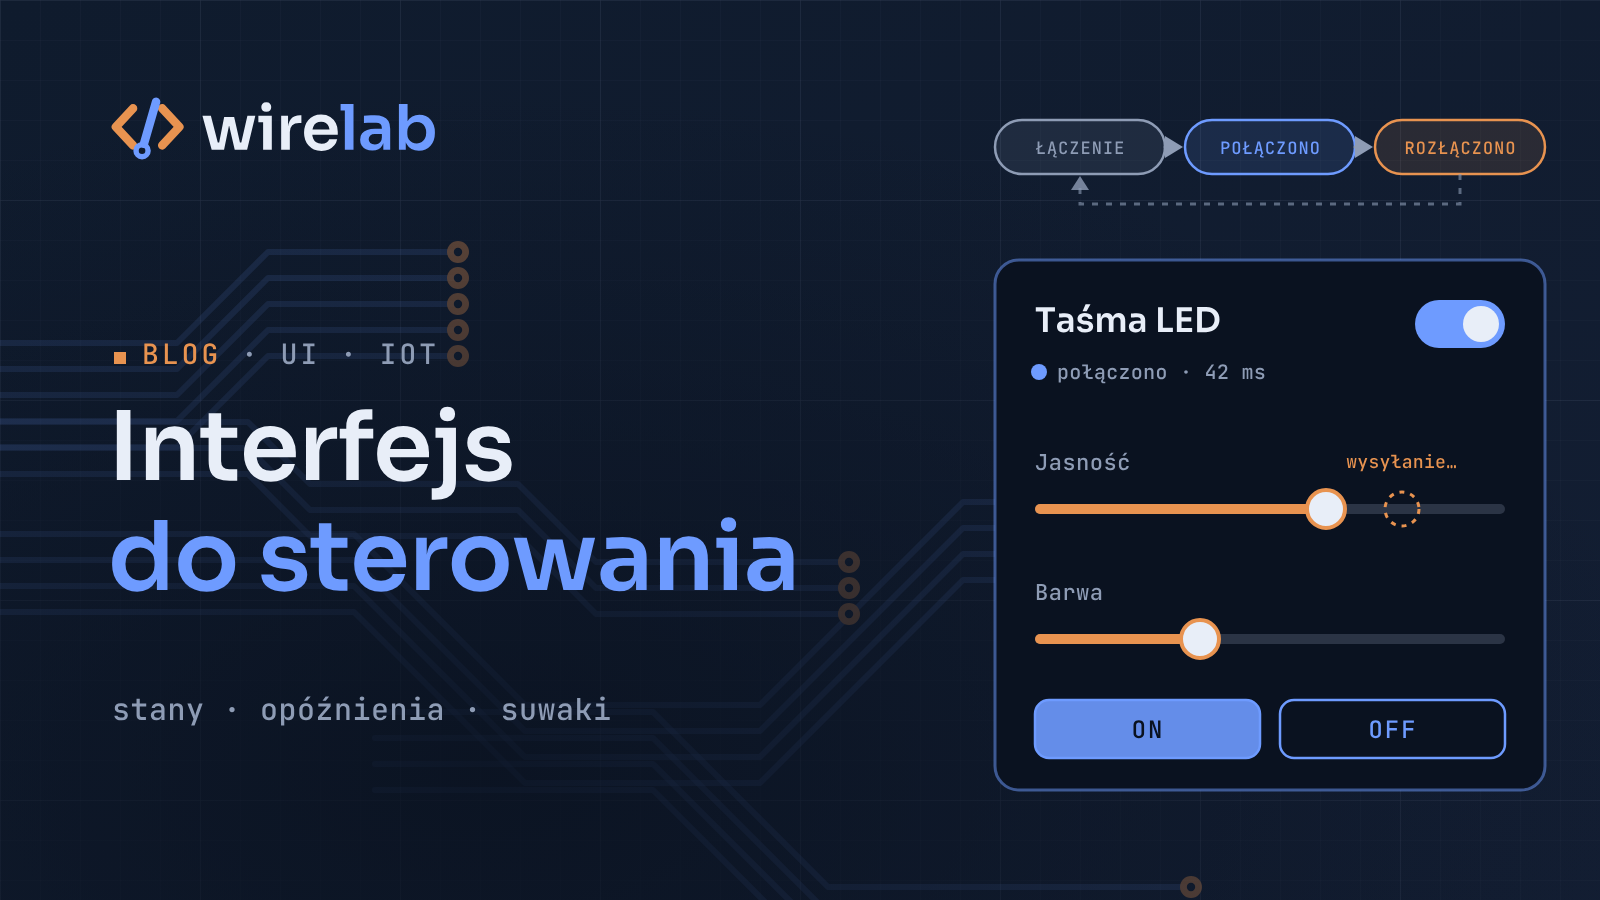
A button in a normal web app changes a database row a few milliseconds away. A button in an IoT app changes the physical world, via a device that may be asleep, out of range or already switched by someone at the wall. This guide covers the principles of IoT device control UI design that deal with that reality: state vs commands, optimistic vs confirmed updates, latency and offline devices, safety, accessibility and real-time transports. It ends with a React toggle that has proper pending, confirmed and error states. Several of these rules came up while I was building WireAmbi, an Android app that controls the LED strip in my car: its controller never reports its state back, so the app has to remember what it set.
Why IoT device control UI design is different
Device UIs are harder than CRUD screens for a few reasons:
Latency is variable and unbounded. A command might be applied in 100 ms, in five seconds, or never.
You're not the only source of truth. Someone can flip the physical switch, an automation can run, or the device can reboot into a default state.
Mistakes have physical consequences. Showing "Door closed" when it's open is a safety problem, not just a cosmetic bug.
Separate desired state from reported state
The most useful mental model is to keep two values per device property:
Desired state: what the user (or an automation) asked for.
Reported state: what the device last said is actually true.
Cloud IoT platforms often formalise this as a "device shadow" or "digital twin", and your own backend should model it the same way. The UI's job is then clear: show reported state as the truth, and indicate a pending desired state when the two differ.
Related to this: send idempotent state commands, not toggles. { "set": { "on": true } } can safely be retried or delivered twice. A bare toggle command delivered twice leaves the lamp where it started. Give every command an ID, too, so the device can say "I applied command abc123" and the UI knows exactly which request was confirmed.
Optimistic UI vs confirmed state for IoT controls
Optimistic UI updates the screen immediately and reconciles later. In a to-do app, that's a great default. For devices, decide per control:
Control | Recommended approach | Why |
|---|---|---|
Lamp, RGB colour, speaker volume | Optimistic, with a subtle pending indicator | Low risk, and instant feedback feels right |
Thermostat setpoint | Optimistic setpoint, confirmed current temperature | Show both "target" and "actual" |
Garage door, gate, lock | Confirmed only | The user must not believe the door is closed when it isn't |
Heaters, pumps, relays on mains loads | Confirmed only, plus safeguards | Wrong state can damage equipment or cause harm |
A good rule: if a wrong display could make someone act unsafely, never show the new state before the device confirms it. Show "Closing…" until the door's own sensor reports it's closed.
Designing for latency, timeouts and offline devices
A slow control is annoying, but a control that shows the wrong state is worse.
Show pending state immediately: a spinner, a pulsing outline or a "Turning on…" label within a frame of the tap.
Set a confirmation timeout, then move to an explicit error state with a retry action. Don't spin forever.
Make offline obvious: disable controls and show "last seen" time. With MQTT, a Last Will message can publish
offlineautomatically when a device drops off.Mark stale data: a reading from three hours ago shouldn't look like one from three seconds ago.
Reconcile on reconnect: fetch the current state before accepting new input.
Feedback: pending, confirmed and error states
Every control needs distinct visual and textual states: confirmed (the reported state), pending (what was requested), error (what went wrong in plain language, plus a retry) and offline/unknown, which is not the same as "off".
Don't rely on colour alone. Green versus grey is hard to tell apart for many colour-blind users and in bright sunlight, so pair colour with text or icons.
Safety for destructive and physical actions
Your UI is not a safety system. Real interlocks (limit switches, thermal cutoffs, obstruction sensors) belong in the device firmware and hardware. The UI can still prevent accidents:
Add friction proportional to risk: a confirmation step, slide-to-confirm or press-and-hold for gates and locks, never a single tap that fires in a pocket.
Name the target: "Open Garage door (North)?" beats "Are you sure?".
Show evidence: put the door sensor reading or camera view next to the control.
Guard against repeats: ignore taps while a command is pending, and rate-limit on the server.
Log who did what, so "who opened the gate at 3 a.m.?" has an answer.
Accessibility for smart home and IoT controls
Use a real
<button>withrole="switch"andaria-checkedfor on/off controls, so screen readers announce "Living room lamp, switch, on".Announce state changes with an
aria-live="polite"region, since the confirmation arrives asynchronously and isn't tied to a focus change.Mark in-progress controls with
aria-busy. Avoiddisabledon pending controls: it drops the button from the focus order.aria-disabledplus a guarded click handler keeps focus stable.Size touch targets generously. WCAG 2.2 requires at least 24 × 24 CSS pixels at level AA (SC 2.5.8) and 44 × 44 at AAA (SC 2.5.5). Aim for the larger size.
Respect
prefers-reduced-motionfor pulsing and spinning indicators.
Mobile-first layout for device dashboards
Most device control happens on a phone, one-handed, on a flaky connection. Put frequent controls within thumb reach, group devices by room rather than type, let users pin favourites, and test with network throttling in dev tools, which is where your pending states earn their keep.
Real-time transport: WebSockets vs MQTT over WebSocket vs SSE
You need to push reported state to the browser as it changes. The three common options:
WebSockets | MQTT over WebSocket | Server-Sent Events (SSE) | |
|---|---|---|---|
Direction | Bidirectional | Bidirectional (pub/sub) | Server → client only |
Commands from UI | Same socket | Publish to a topic | Separate |
Reconnect | You implement it | Client libraries handle it | Built into |
Last known state on connect | You implement it | Retained messages | You implement it |
Offline detection | Heartbeats | Last Will and Testament | Heartbeats |
Best when | You own a custom backend | Devices already speak MQTT | Mostly read-only dashboards |
If your devices already speak MQTT, connecting the browser to the broker over WebSocket gives you a lot for free: retained state topics, a set topic for commands and an availability topic set by Last Will (with authentication and per-user ACLs, always). For a simple dashboard behind your own API, SSE plus POST has the fewest moving parts.
A React device toggle with pending, confirmed and error states
Here's a compact implementation that puts these IoT device control UI design principles into practice. First, the contract with whatever transport you use:
// device-types.ts
export type ReportedState = {
  on: boolean
  online: boolean
  updatedAt: number // ms since epoch, as reported by the device or broker
  ackFor?: string // ID of the command this report confirms, if any
}

export type SetCommand = { id: string; set: { on: boolean } }

export interface DeviceTransport {
  /** Resolves when the command was sent, NOT when the device applied it. */
  send(deviceId: string, cmd: SetCommand): Promise<void>
  /** Calls onState for every reported state. Returns an unsubscribe function. */
  subscribe(deviceId: string, onState: (s: ReportedState) => void): () => void
}
The hook tracks reported state and the lifecycle of the current command:
// useDeviceToggle.ts
import { useCallback, useEffect, useState } from 'react'
import type { DeviceTransport, ReportedState } from './device-types'

export type ToggleStatus =
  | { kind: 'idle' }
  | { kind: 'pending'; commandId: string; desired: boolean }
  | { kind: 'error'; desired: boolean; message: string }

const CONFIRM_TIMEOUT_MS = 5000

export function useDeviceToggle(deviceId: string, transport: DeviceTransport) {
  const [reported, setReported] = useState<ReportedState | null>(null)
  const [status, setStatus] = useState<ToggleStatus>({ kind: 'idle' })

  useEffect(() => {
    return transport.subscribe(deviceId, (s) => {
      setReported(s)
      setStatus((cur) =>
        cur.kind === 'pending' && (s.ackFor === cur.commandId || s.on === cur.desired)
          ? { kind: 'idle' }
          : cur
      )
    })
  }, [deviceId, transport])

  useEffect(() => {
    if (status.kind !== 'pending') return
    const timer = setTimeout(() => {
      setStatus((cur) =>
        cur.kind === 'pending' && cur.commandId === status.commandId
          ? { kind: 'error', desired: cur.desired, message: "The device didn't confirm the change." }
          : cur
      )
    }, CONFIRM_TIMEOUT_MS)
    return () => clearTimeout(timer)
  }, [status])

  const setOn = useCallback(
    async (desired: boolean) => {
      const commandId = crypto.randomUUID()
      setStatus({ kind: 'pending', commandId, desired })
      try {
        await transport.send(deviceId, { id: commandId, set: { on: desired } })
      } catch {
        setStatus((cur) =>
          cur.kind === 'pending' && cur.commandId === commandId
            ? { kind: 'error', desired, message: 'Could not reach the server.' }
            : cur
        )
      }
    },
    [deviceId, transport]
  )

  return { reported, status, setOn }
}
And the component. The optimistic prop lets you use the same toggle for a lamp (optimistic) and a relay on a heater (confirmed only):
// DeviceToggle.tsx
import { useDeviceToggle } from './useDeviceToggle'
import type { DeviceTransport } from './device-types'

type Props = {
  deviceId: string
  label: string
  transport: DeviceTransport
  optimistic?: boolean
}

export function DeviceToggle({ deviceId, label, transport, optimistic = true }: Props) {
  const { reported, status, setOn } = useDeviceToggle(deviceId, transport)

  const unknown = reported === null
  const offline = reported !== null && !reported.online
  const pending = status.kind === 'pending'
  const confirmedOn = reported?.on ?? false
  const shownOn = pending && optimistic ? status.desired : confirmedOn

  let message = ''
  if (unknown) message = 'Connecting…'
  else if (offline) message = `Offline, last seen ${new Date(reported.updatedAt).toLocaleTimeString()}`
  else if (pending) message = status.desired ? 'Turning on…' : 'Turning off…'
  else if (status.kind === 'error') message = status.message

  return (
    <div className="device-toggle">
      <button
        type="button"
        role="switch"
        aria-checked={shownOn}
        aria-busy={pending}
        aria-disabled={pending || undefined}
        aria-describedby={`${deviceId}-status`}
        disabled={unknown || offline}
        onClick={() => {
          if (!pending) setOn(!confirmedOn)
        }}
        className={`switch${shownOn ? ' is-on' : ''}${pending ? ' is-pending' : ''}`}
      >
        <span>{label}</span>
        <span aria-hidden="true">{shownOn ? 'On' : 'Off'}</span>
      </button>
      <p id={`${deviceId}-status`} role="status" aria-live="polite">
        {message}
      </p>
      {status.kind === 'error' && (
        <button type="button" onClick={() => setOn(status.desired)}>
          Retry
        </button>
      )}
    </div>
  )
}
Note that the click handler computes the new value from reported state, not the displayed one, and that confirmation accepts either an ackFor match or a report matching the desired value, which covers devices that don't echo command IDs.
To plug this into MQTT over WebSocket, subscribe listens on devices/<id>/state (a retained topic) and send publishes the command JSON to devices/<id>/set. For SSE, subscribe wraps an EventSource and send is a fetch POST.
If you need a control panel for your own device, see web apps, Android apps and electronics.
FAQ
Should IoT apps use optimistic UI?
For low-risk controls like lights, yes, with a visible pending state and a rollback on timeout. For locks, doors, heaters and anything safety-relevant, show only confirmed state.
How long should a device command timeout be?
Base it on your devices' measured round-trip time plus margin. Sleepy battery devices may need a "will apply on next wake-up" state instead.
Is MQTT over WebSocket safe to use from the browser?
It can be, if the broker requires authentication over TLS and uses per-user topic ACLs. Never expose an anonymous broker to the internet.
What's the difference between WebSockets and SSE for IoT dashboards?
WebSockets are bidirectional. SSE only streams server-to-client, but it reconnects automatically and works well with a separate POST endpoint for commands.
How do I show that a device is offline?
Have the device (or the broker's Last Will message) publish availability, show a clear offline badge with "last seen" time, and disable its controls.