

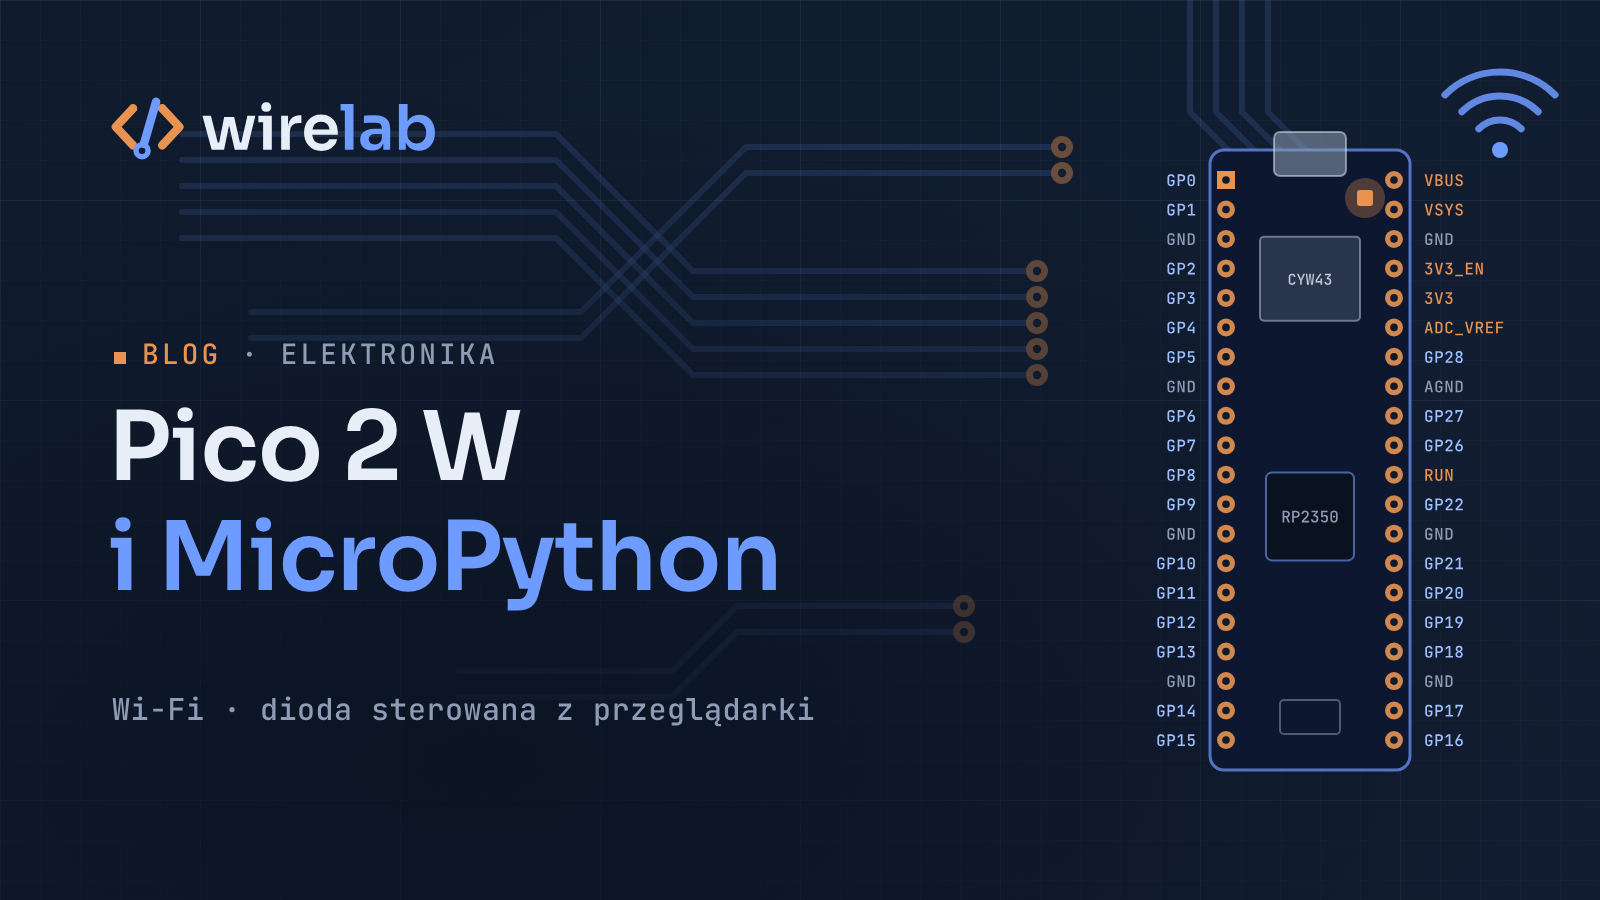
The Raspberry Pi Pico 2 W is a small, cheap board with Wi-Fi and Bluetooth built in, and MicroPython is the quickest way to get it doing something useful. In this Raspberry Pi Pico 2 W MicroPython tutorial you'll flash the firmware, blink the onboard LED, connect to Wi-Fi, fetch data from an HTTP API, read the chip's internal temperature sensor and serve a tiny web page from the board. I base the hardware facts and APIs on Raspberry Pi's and MicroPython's official documentation, because a lot of older tutorials were written for the original Pico W and some details have changed.
What's on the Raspberry Pi Pico 2 W?
Before you write code, it helps to know what you're working with. According to Raspberry Pi's documentation, the Pico 2 W has:
RP2350 microcontroller with a choice of two CPU architectures: dual-core Arm Cortex-M33 or dual-core Hazard3 RISC-V, clocked at up to 150 MHz. You pick the architecture through the firmware you flash. The standard MicroPython build for this board is what you'll use here.
520 kB of SRAM on the chip and 4 MB of flash on the board.
26 multi-function GPIO pins, 2× SPI, 2× I2C, 2× UART, 3 ADC inputs (12-bit) exposed on the board, and 24 PWM channels.
12 PIO state machines for custom peripherals, plus an on-chip temperature sensor.
Infineon CYW43439 wireless chip, connected to the RP2350 over SPI: single-band 2.4 GHz Wi-Fi 4 (802.11n) with WPA3 and a soft access point for up to four clients, and Bluetooth 5.2 with Bluetooth LE (central and peripheral roles) and Bluetooth Classic.
A Micro USB connector for power and data, and the same pinout as the original Pico W.
One detail catches a lot of people out: on the wireless boards, the onboard LED isn't wired to a normal RP2350 GPIO. It's driven by the wireless chip (its WL_GPIO0 pin). On the original non-wireless Pico it was on GP25, and code that uses Pin(25) won't light the LED on a Pico 2 W. MicroPython hides this behind the name "LED", which you'll use below.
How to install Raspberry Pi Pico 2 W MicroPython firmware (UF2)
The board boots from a ROM bootloader that shows up as a USB drive, so you don't need any flashing tool.
Download the Pico 2 W UF2 file. The official sources are the MicroPython download page for the board (
micropython.org/download/RPI_PICO2_W/) and the MicroPython page in Raspberry Pi's documentation, which links a file per board. Make sure you pick Pico 2 W, not Pico W or Pico 2: they use different firmware.Hold the BOOTSEL button and plug the board into your computer with a USB cable that carries data (many cheap cables are power-only).
Release BOOTSEL once a drive called RP2350 appears.
Drag the
.uf2file onto that drive. The board copies it, reboots, and the drive disappears. That's expected, not an error.
Because the BOOTSEL mode lives in the chip's read-only memory, you can't "brick" the board this way. Holding BOOTSEL while plugging in always brings the drive back. Once MicroPython is running, you can also get into the bootloader from code by calling machine.bootloader() at the REPL.
Set up Thonny for MicroPython on the Pico
Thonny is the easiest editor for getting started with Raspberry Pi Pico 2 W MicroPython development. Install it from thonny.org, plug in the board, then click the interpreter name in the bottom-right corner of the window and choose MicroPython (Raspberry Pi Pico) with the right serial port. The Shell pane at the bottom becomes a live REPL running on the board. Type this to check:
import sys
print(sys.implementation)
Two habits that save time:
Run (F5) executes the current file on the board without saving it there. That's great for experiments.
To run code automatically at power-up, save it to the Raspberry Pi Pico as
main.py.
If you prefer the terminal, mpremote (installed with pip install mpremote) does the same job: mpremote run blink.py or mpremote cp main.py :.
Blink the onboard LED with Pin("LED")
The "hello world" of microcontrollers:
# blink.py
from machine import Pin
import time

led = Pin("LED", Pin.OUT)

while True:
    led.toggle()
    time.sleep(0.5)
Press Stop in Thonny (or Ctrl+C in the REPL) to break out of the loop. If the LED doesn't blink, the usual cause is the wrong firmware: a Pico 2 build without Wi-Fi support can't reach the LED, because the LED sits on the wireless chip.
Connect the Pico 2 W to Wi-Fi with network.WLAN
Keep credentials in their own file so you don't paste them into every script (and don't commit it):
# config.py
WIFI_SSID = "your-network"
WIFI_PASSWORD = "your-password"
COUNTRY = "GB"  # two-letter ISO code of the country you're in
Now a reusable connection helper:
# wifi.py
import time
import network
import config


def connect(timeout_s=20):
    network.country(config.COUNTRY)
    wlan = network.WLAN(network.WLAN.IF_STA)
    wlan.active(True)

    if not wlan.isconnected():
        wlan.connect(config.WIFI_SSID, config.WIFI_PASSWORD)
        start = time.ticks_ms()
        while not wlan.isconnected():
            if time.ticks_diff(time.ticks_ms(), start) > timeout_s * 1000:
                status = wlan.status()
                wlan.active(False)
                raise RuntimeError("Wi-Fi connection timed out, status %d" % status)
            time.sleep_ms(250)

    print("Connected, IP:", wlan.ipconfig("addr4")[0])
    return wlan
Why the timeout? Without it, a typo in config.py looks like a frozen board: the loop just keeps waiting for a connection that never comes.
A few more details worth knowing:
network.WLAN.IF_STAis the current spelling in the docs. Older examples usenetwork.STA_IF.wlan.ipconfig("addr4")replaces the olderwlan.ifconfig(), which the docs now mark as deprecated.network.country()sets the regulatory region for the radio. The default,"XX", means "worldwide".The radio is 2.4 GHz only. If your router uses the same network name for 2.4 and 5 GHz and the Pico won't connect, check that 2.4 GHz is actually enabled.
Make an HTTP request from MicroPython
With the network up, the requests module handles simple HTTP and HTTPS calls. It's a small subset of the desktop library, and it's already included in the official Pico 2 W firmware. This example fetches the current outdoor temperature from the free Open-Meteo API:
# weather.py
import requests
import wifi
wifi.connect()
URL = (
"https://api.open-meteo.com/v1/forecast"
"?latitude=52.23&longitude=21.01¤t=temperature_2m"
)
r = requests.get(URL)
try:
data = r.json()
print("Outside:", data["current"]["temperature_2m"], "°C")
finally:
r.close()
Always call r.close(). Sockets are a scarce resource on a microcontroller, and leaking them in a loop is the classic reason a Pico project stops working after a few hours.
Read the RP2350 internal temperature sensor
The RP2350 has a temperature sensor wired to an internal ADC channel. The datasheet gives a typical 0.706 V at 27 °C, with a slope of −1.721 mV per degree. That gives this formula:
# sensors.py
from machine import ADC

_sensor = ADC(ADC.CORE_TEMP)


def read_temp_c():
    voltage = _sensor.read_u16() * 3.3 / 65535
    return 27 - (voltage - 0.706) / 0.001721
Don't treat the result as a room thermometer. It measures the die temperature, which runs above ambient when the CPU and Wi-Fi are busy, and the datasheet notes that the voltage and slope vary between chips, so you'll need to calibrate if accuracy matters. For real ambient readings, add an external sensor over I2C.
Build a tiny web server on the Pico 2 W
Now let's put it together: a page that shows the chip temperature and lets you switch the LED from your phone.
# main.py
import json
import socket
from machine import Pin
import wifi
from sensors import read_temp_c
PORT = 80
led = Pin("LED", Pin.OUT)
wlan = wifi.connect()
PAGE = """<!DOCTYPE html>
<html><head><meta name="viewport" content="width=device-width,initial-scale=1">
<title>Pico 2 W</title></head>
<body><h1>Pico 2 W</h1>
<p>Chip temperature: {temp:.1f} °C</p>
<p>LED is {led}. <a href="/led/on">On</a> | <a href="/led/off">Off</a></p>
</body></html>"""
addr = socket.getaddrinfo("0.0.0.0", PORT)[0][-1]
srv = socket.socket()
srv.setsockopt(socket.SOL_SOCKET, socket.SO_REUSEADDR, 1)
srv.bind(addr)
srv.listen(2)
print("Open http://%s:%d/" % (wlan.ipconfig("addr4")[0], PORT))
while True:
client, remote = srv.accept()
try:
request = client.recv(1024).decode()
parts = request.split(" ")
path = parts[1] if len(parts) > 1 else "/"
if path == "/led/on":
led.on()
elif path == "/led/off":
led.off()
if path == "/api":
body = json.dumps({"temp_c": round(read_temp_c(), 1), "led": led.value()})
ctype = "application/json"
else:
body = PAGE.format(temp=read_temp_c(), led="on" if led.value() else "off")
ctype = "text/html; charset=utf-8"
client.sendall(("HTTP/1.0 200 OK\r\nContent-Type: %s\r\n\r\n" % ctype).encode())
client.sendall(body.encode())
except OSError as e:
print("Client error:", e)
finally:
client.close()
Save all four files (config.py, wifi.py, sensors.py, main.py) to the board, reset it, and open the printed address in a browser on the same network.
This server is deliberately minimal: it handles one client at a time, and it changes state on a GET request, which is fine on your desk but not how you'd build a real device API. For anything serious, use asyncio (built into MicroPython) or a small framework such as Microdot, switch state with POST, and don't expose the board to the internet.
Next steps with the Pico 2 W
MQTT: install
umqtt.simplewithmipand publish sensor readings to Home Assistant or Mosquitto.Bluetooth LE: the
bluetoothmodule, or the higher-levelaioblelibrary (install it withmipif your build doesn't include it), lets the board act as a BLE peripheral.PIO: the 12 state machines can generate precise signals (WS2812 LEDs, custom protocols) without loading the CPU.
Power: for battery projects, look into
machine.lightsleep(), and switch Wi-Fi off between transmissions.A proper control panel: how to show pending, confirmed and offline states honestly is covered in IoT device control UI design.
Beyond MicroPython: the Pico C/C++ SDK, the Arduino-Pico core and Rust (Embassy) all support the RP2350 when you need more speed or tighter timing.
If you'd rather have a device built for you, see electronics. For a comparison with the ESP32 family, read ESP32 vs Raspberry Pi Pico 2 W.
FAQ
Can I use Raspberry Pi Pico W firmware on the Pico 2 W?
No. The Pico 2 W uses the RP2350, while the Pico W uses the RP2040. Download the UF2 built specifically for the Pico 2 W.
Why doesn't Pin(25) blink the LED on my Pico 2 W?
On the wireless boards, the LED is connected to the CYW43439 wireless chip, not to GP25. Use Pin("LED", Pin.OUT), which works on both Pico W and Pico 2 W.
Does the Pico 2 W support 5 GHz Wi-Fi?
No. It's single-band 2.4 GHz 802.11n, so make sure your router has a 2.4 GHz network enabled.
Does the Pico 2 W have Bluetooth?
Yes. Raspberry Pi lists Bluetooth 5.2 with Bluetooth LE central and peripheral roles, plus Bluetooth Classic.
How accurate is the internal temperature sensor?
It gives you a rough die temperature, not room temperature. The datasheet notes device-to-device variation, so calibrate it or use an external sensor for real measurements.